Ah, preserved lemons. I poured my heart and soul into this project because preserved lemons are something that I’ve wanted to share for a very long time…..
One might think, it’s just preserved lemons. Why all the fuss? Isn’t that easy to make? True. But, this is not about the level of difficulty, it’s about all the little questions that arise when making preserved lemons. When I took a cooking class in Marrakech, the chef just showed me how to slice the lemons, add salt to them, and place them inside a jar. I thought that was it. So simple. I didn’t think for a minute about all the hows and whys afterwards, after all, I was on vacation and I couldn’t wait to hit the public markets.
Once I returned from my trip, I decided to work on my preserved lemons and many questions arose. For instance, do I have to sterilize the bottle jars first, do I have to …….?
Since I couldn’t get in touch with the chef who taught the class, I had to look for answers online, and pretty much all the recipes I looked at had NO ANSWERS to my questions, so I had to figure them out on my own. The solution was to purchase several bags of lemons, preserve them in different ways, and after 4 weeks, see which ones made it. After four weeks, I discovered that some of the lemon jars turned out beautifully. Others made it, but the lemons turned dark brown in color, and a couple of the jars had mildew on top. Yikes! Since I had stickers placed on each jar, I was able to determine why this occurred. As it turns out, some of the jars were not filled to the top with lemon juice. The ones completely immersed in liquid were fine.
I would have to say this was a fun yet very stressful experience. Waiting four weeks to find out which ones made it and which ones failed was no fun. The good news is that I answered all my questions, and going forward, making preserved lemons will be a breeze, so here we go:
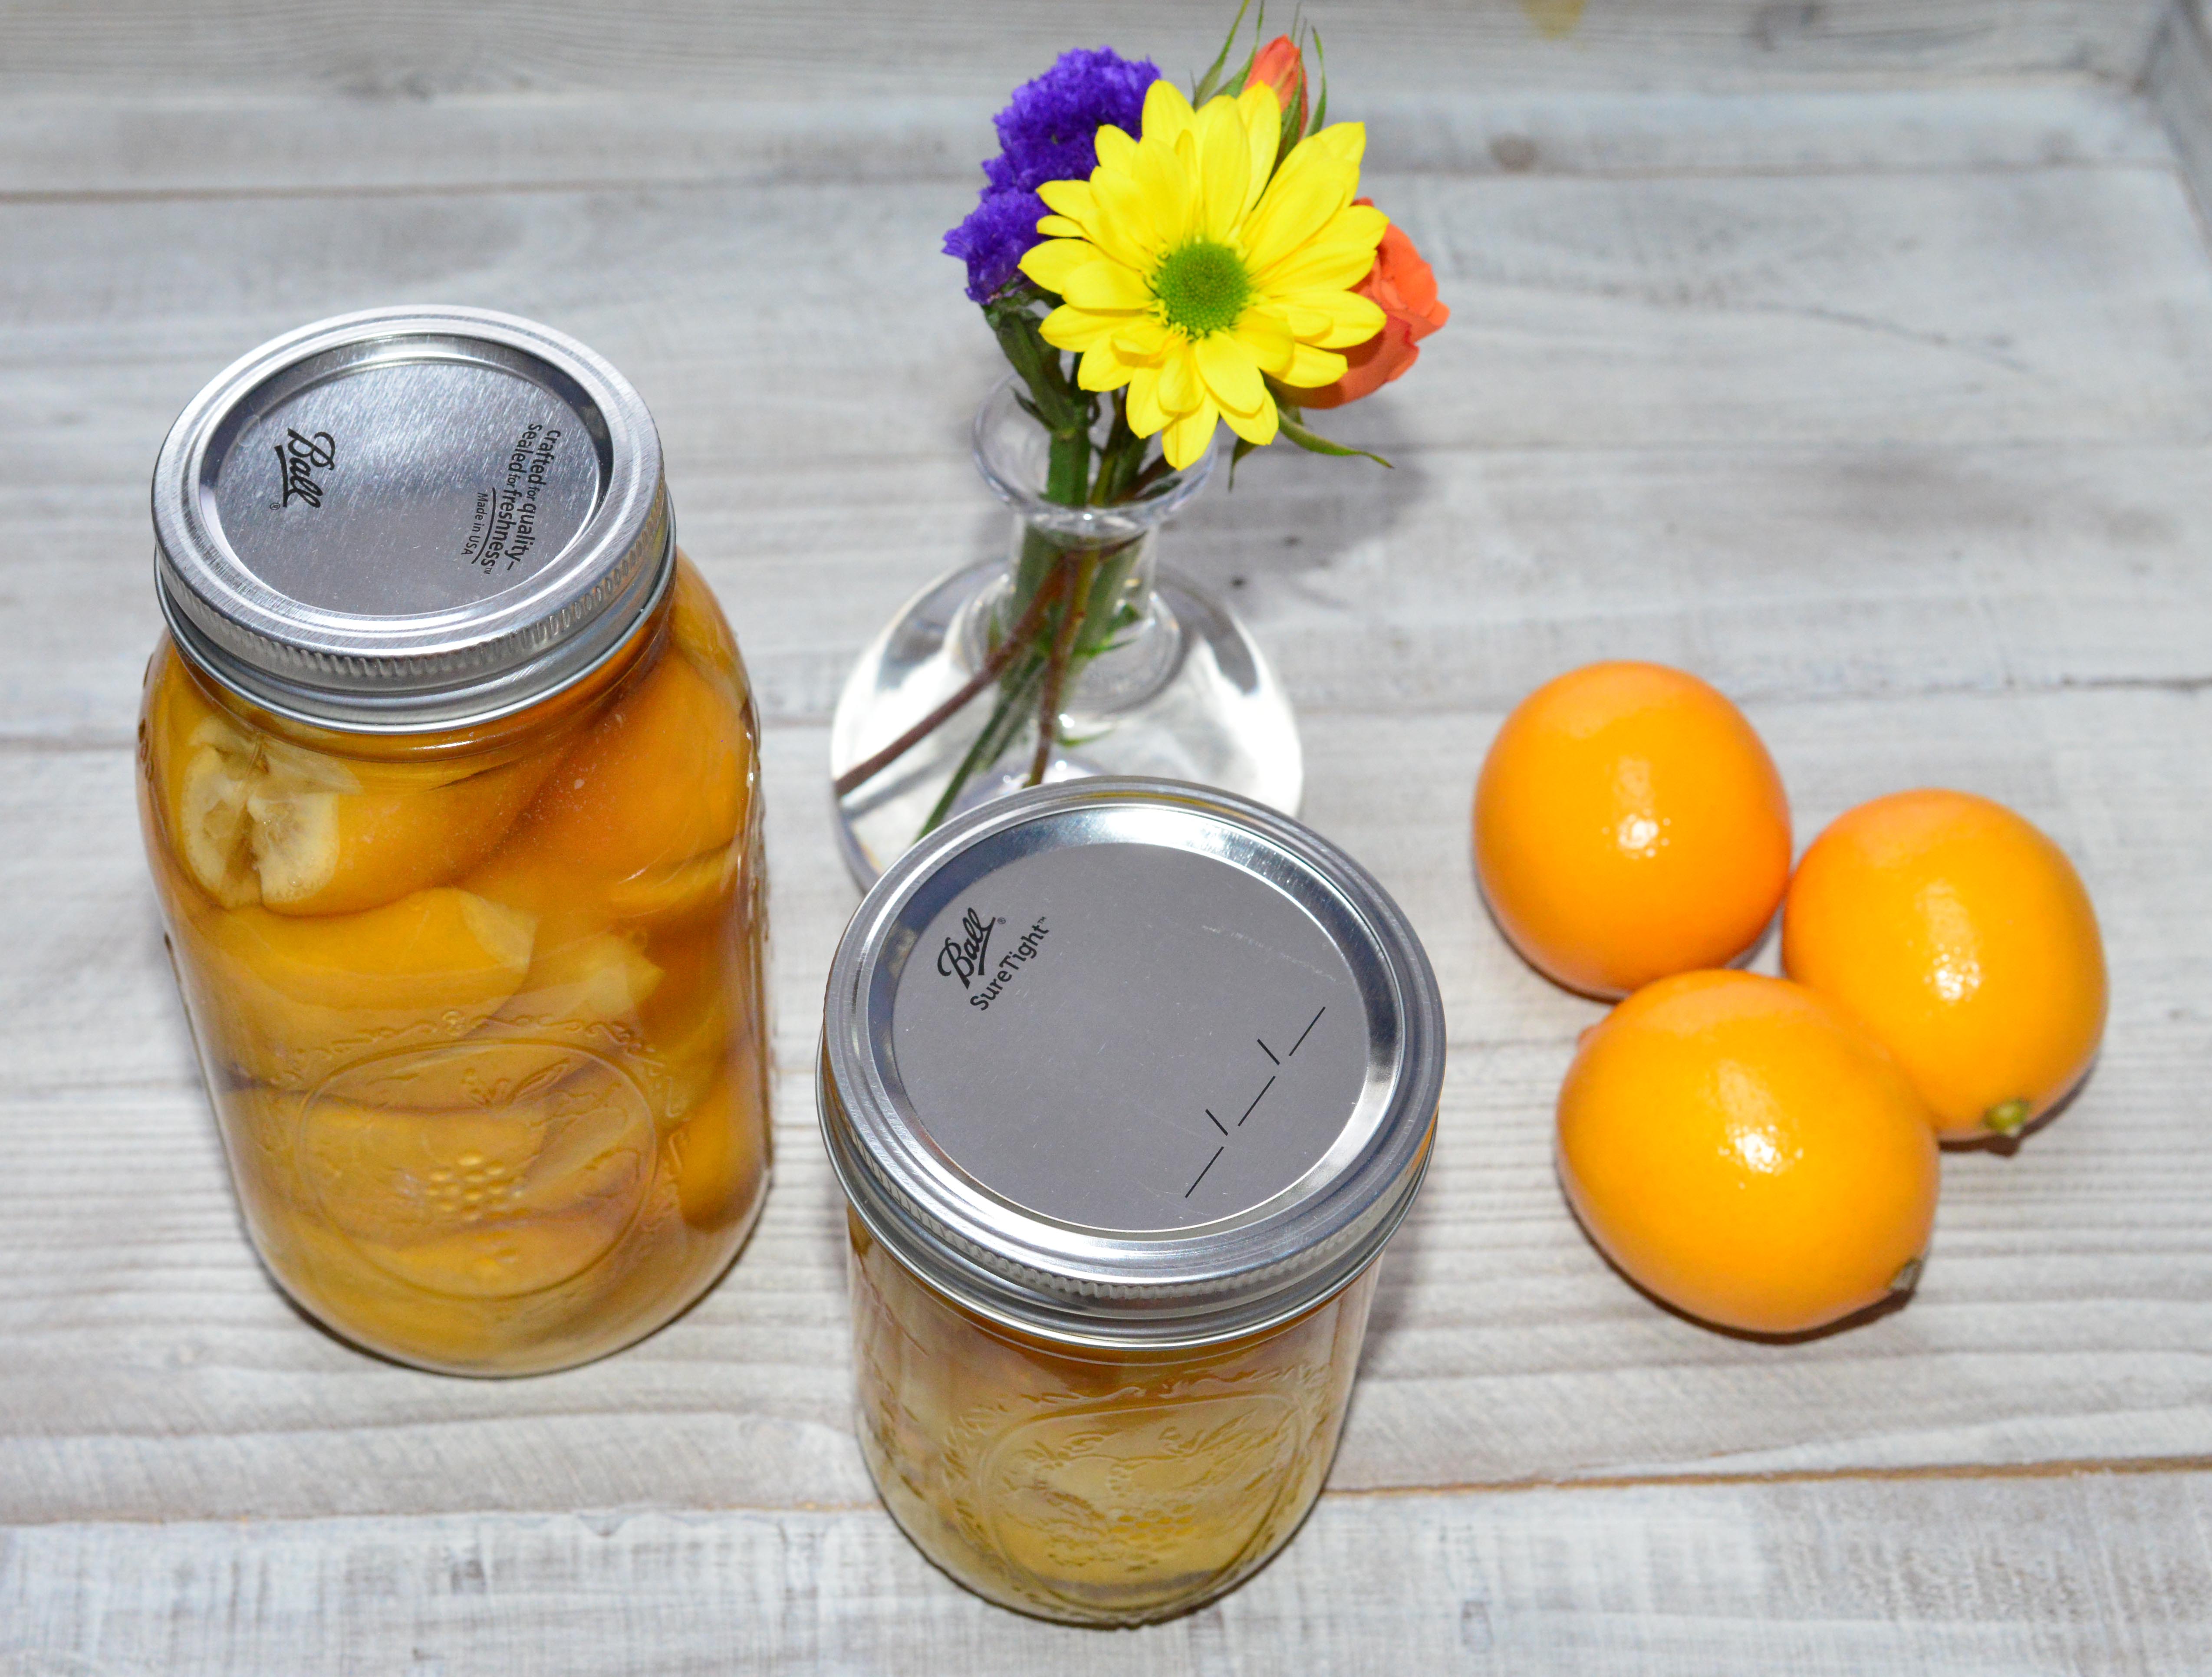
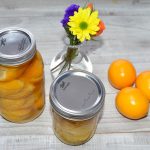
1- THE JARS: Use wide-mouthed 1 pint (16 OZ) jars with a two-piece screw-on lid to preserve 3 lemons, or a 1-quart canning jar to preserve 6-8 lemons.
2- You don’t have to sterilize the jar in boiling water. Salt is a very powerful preservative and has been used to preserve foods for centuries. In Morocco, it’s not customary to sterilize the jars because the salt content is so high, however, I did place mine with the two-piece screw lids inside of a pot of boiling water for a minute because they came home dusty from the hardware store, but if it makes you the least bit worried, then you can boil the jars for 5 minutes to sterilize them, or just run through the hottest wash-and-dry cycle of your dishwater right before you start. Either way, make sure it’s bone dry!
3- Pack them inside the jar as tightly leaving as little air inside the jar as possible. Ensure the lemons are completely covered by the juice, otherwise, they will be floating and the top lemons will not immerse completely in the juice.
4- Pour the juice into the jar until it is filled to the brim and all lemons are completely submerged. This will ensure no mildew forms on top. WARNING! If a piece of lemon is sticking up out of the solution, mold will form!
5- Use sea salt (Iodine will turn lemons brown). I used kosher salt because it has a clean, iodine-free flavor. Avoid table salt as it contains preservatives that prevent it from properly protecting against mold.
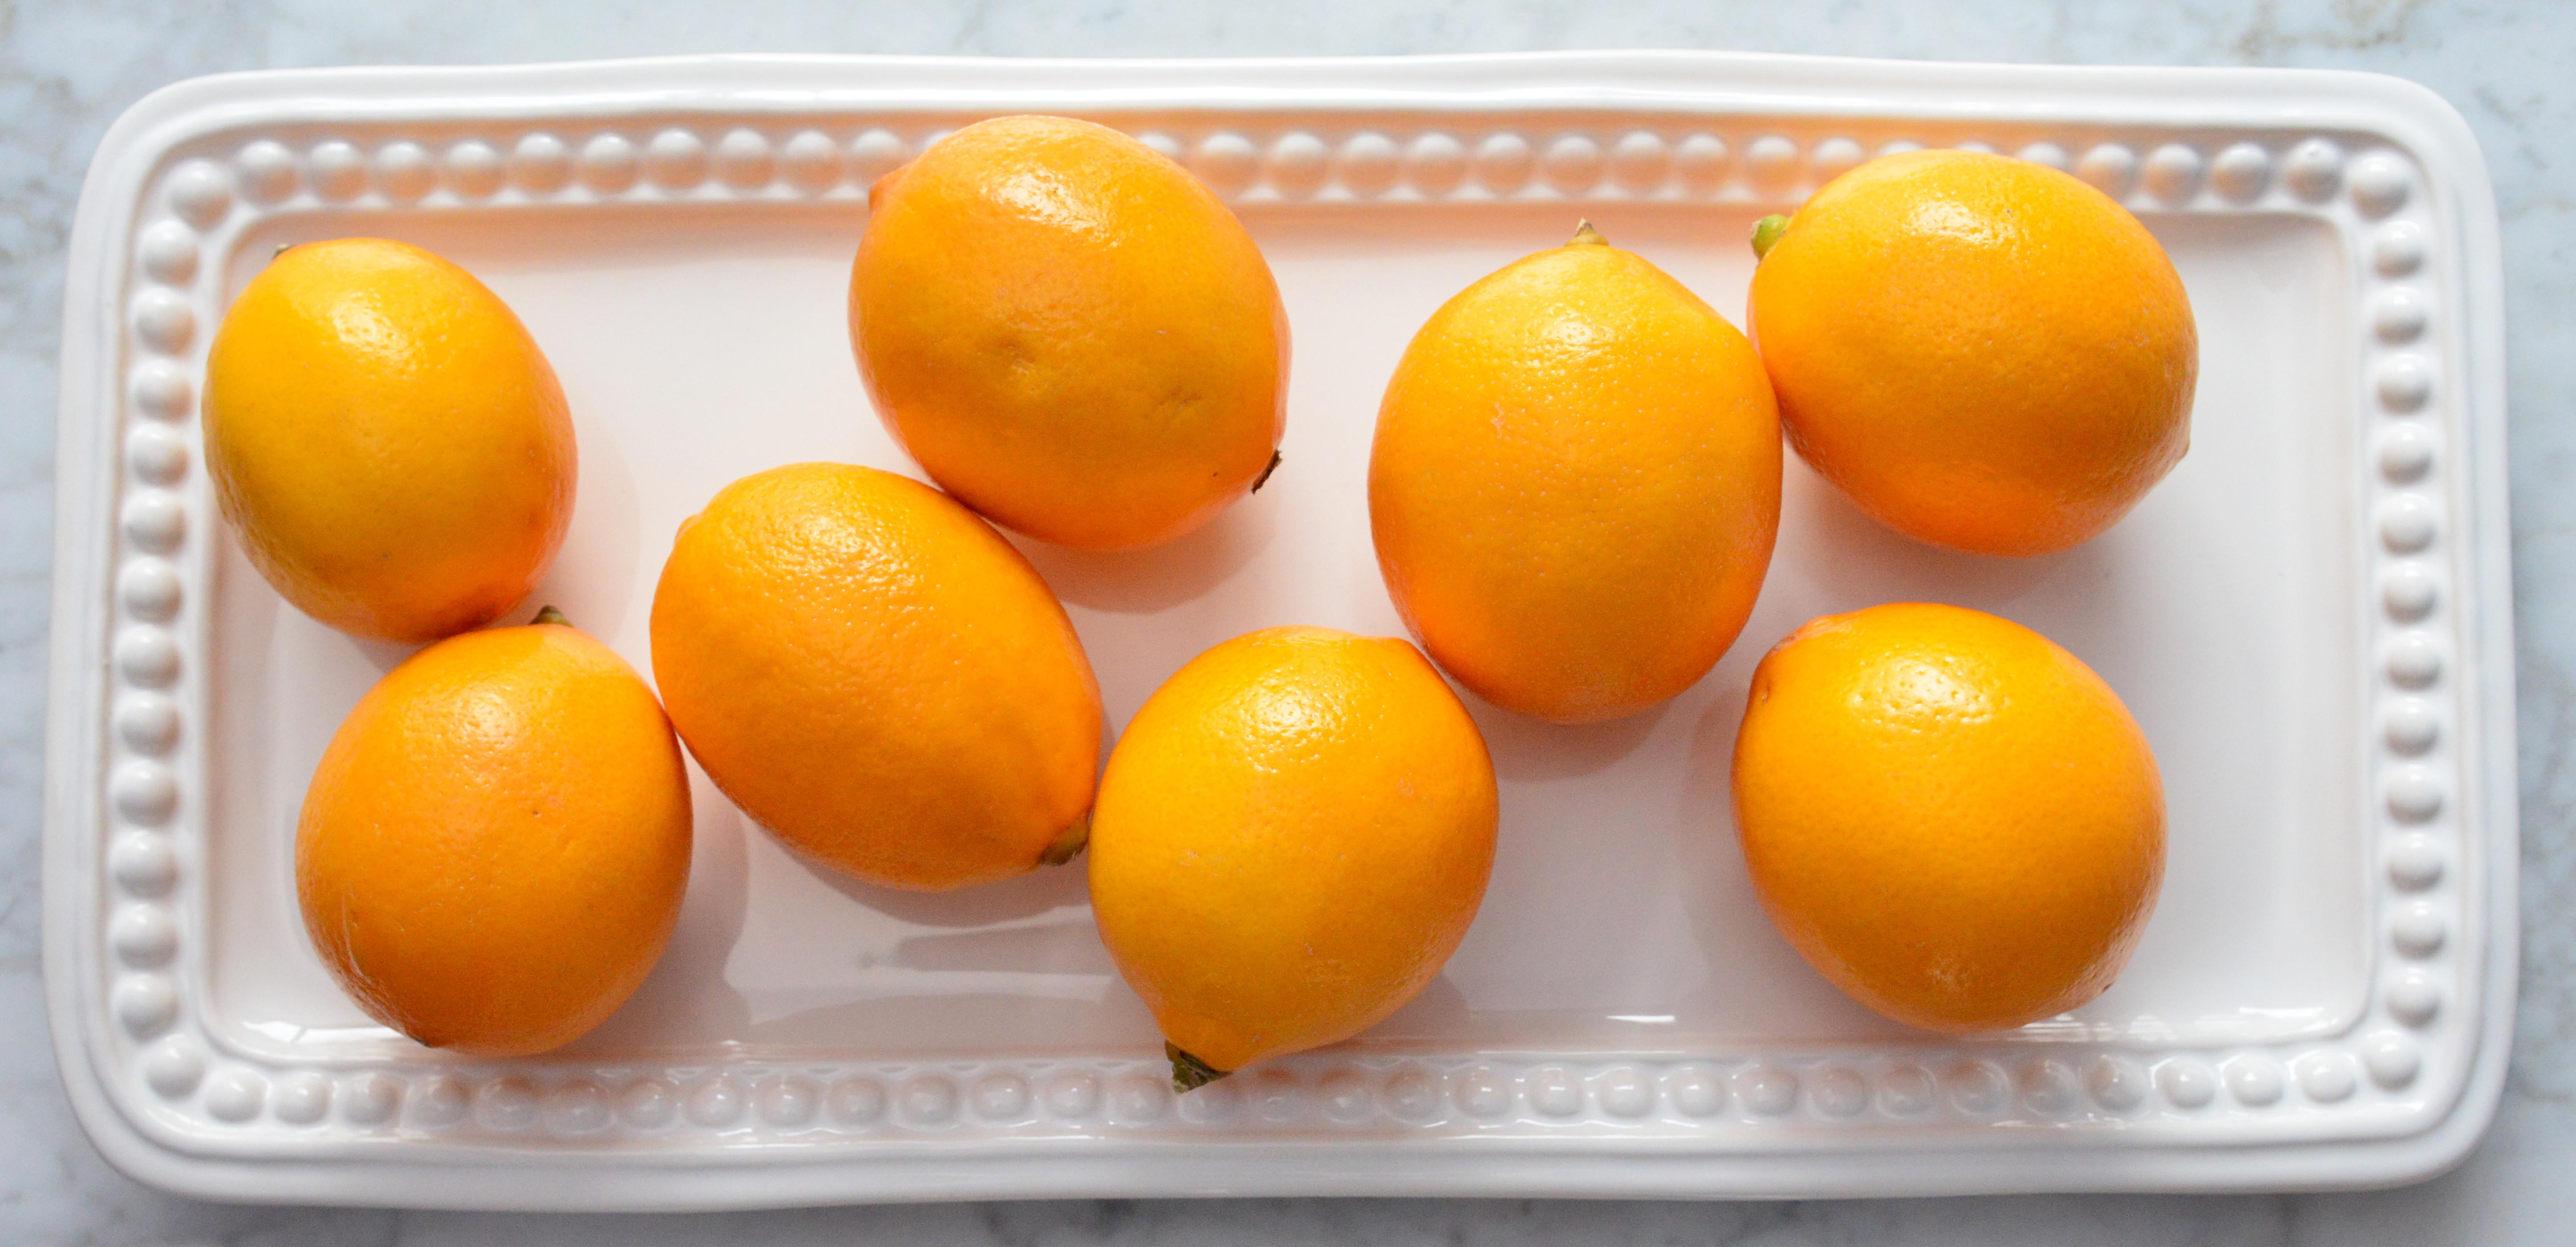
6- The Lemons: You will want to use organic, pesticide-free lemons. Get twice as many as lemons as you’re going to preserve, because you’ll use half of them for the juice. A tip I learned from Moroccan chef Mourad Lahlou, executive chef/owner of the Mourad restaurant in San Francisco and also a book Author is before you start juicing, you might want to do what he does at his restaurant: use a zester to strip off the zest from the lemons you are juicing, NOT THE ONES YOU’RE PRESERVING. Spread the zest on a parchment-lined baking sheet, cover it tightly with plastic wrap, and put it in the freezer. Once it’s frozen, transfer it to a resealable freezer bag and you’ll have a supply of lemon zest ready to use in cooking or baking.
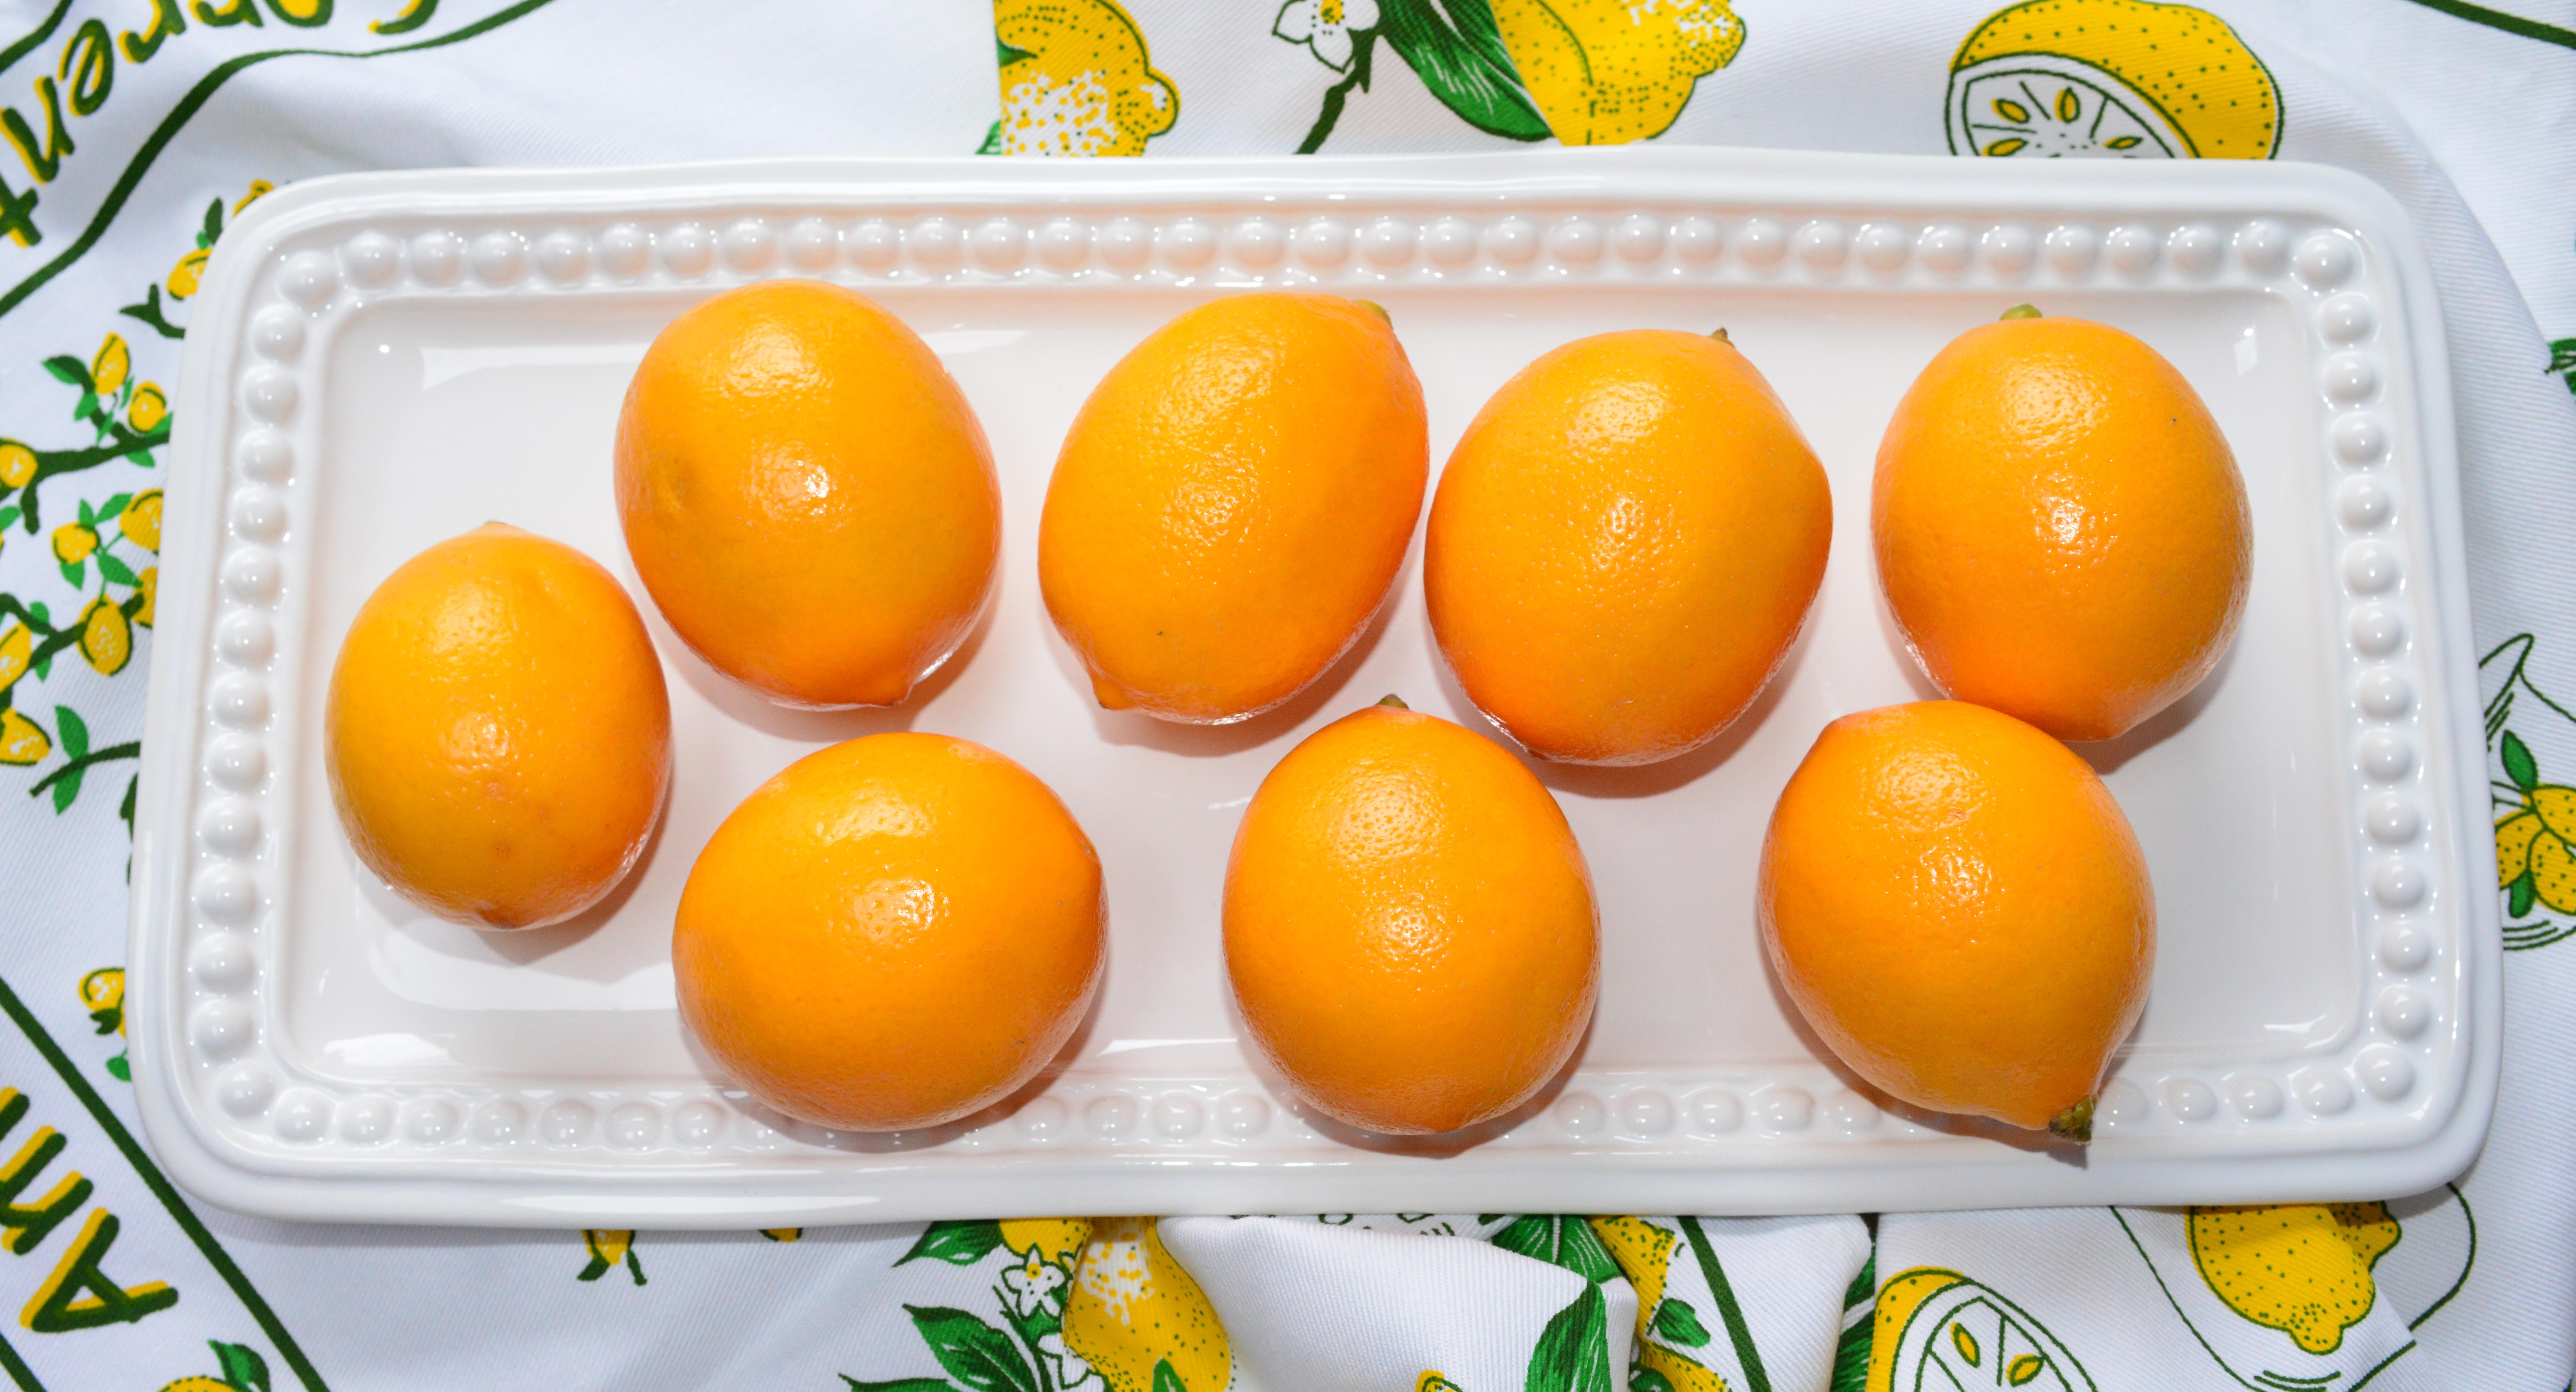
7- Use both conventional lemons and Meyer lemons if you find them and see which one you prefer. I made two batches. I liked the Meyer lemons batch much more. Conventional lemons, (which are generally either Eureka or Lisbon lemons are too tart.). Meyer lemons taste more lemony and are significantly less tart, less acidic, and sweet enough to be added to many dishes, including ice cream. In Morocco, Doqq and Boussera lemons were used. I found that Meyer lemons are most similar to them.
8- Put the jars in a dark spot, like a cupboard or pantry, not in the refrigerator. For one week, turn and shake the jar once a day to redistribute the salt that has settled to the bottom. Add more lemon juice if you notice that the lemons are no longer submerged. I marked the date on the calendar for when they would be ready so I wouldn’t forget. Then, lemons take 1 month to preserve. In the meantime, don’t be concerned if there is a little bubbling around the edge of the jar. That is a normal part of the fermentation process. Your lemons may also turn a little brown, which is also normal. That’s why sea salt is recommended.
9- Storing: In his book, Mourad Lahlou said: Once you’ve opened your jar of preserved lemons, top off the liquid with an 1/8-inch-thick layer of olive oil. You can store the jar at room temperature for several more months, though the lemons will continue to soften. I think they’re at their peak of creaminess after 3 to 4 months. To keep them from softening further, Chef Mourad recommended draining any that are still left after 4 months (save the brine to add sparingly to dressings and sauces) and removing the pulp and pith. Then store the rinds in a small glass jar, completely covered with extra virgin olive oil, for up to a year in the refrigerator. This has the added advantage of giving you a supply of preserved lemon rind that’s always at the ready. If at any point a white film forms on the surface of the liquid, the whole lemons, or the rinds, don’t worry. Just rinse it off before using the lemons.
10- The chef who taught me this class in Morocco said that she had kept preserved lemons inside her cupboard for as long as 3 years without any problem. They got a little discolored, but still tasted amazing. It must be the salt, as it’s a very powerful preservative.
11- Always use utensils to remove needed preserved lemons from the jar, never your hands.
12- If you find the lemon peel too salty, you could soak the preserved lemon in cold water to reduce the salt.
13- Some white crystals will form on the top of the lemons in the jar, which is normal, so do not discard the lemons.
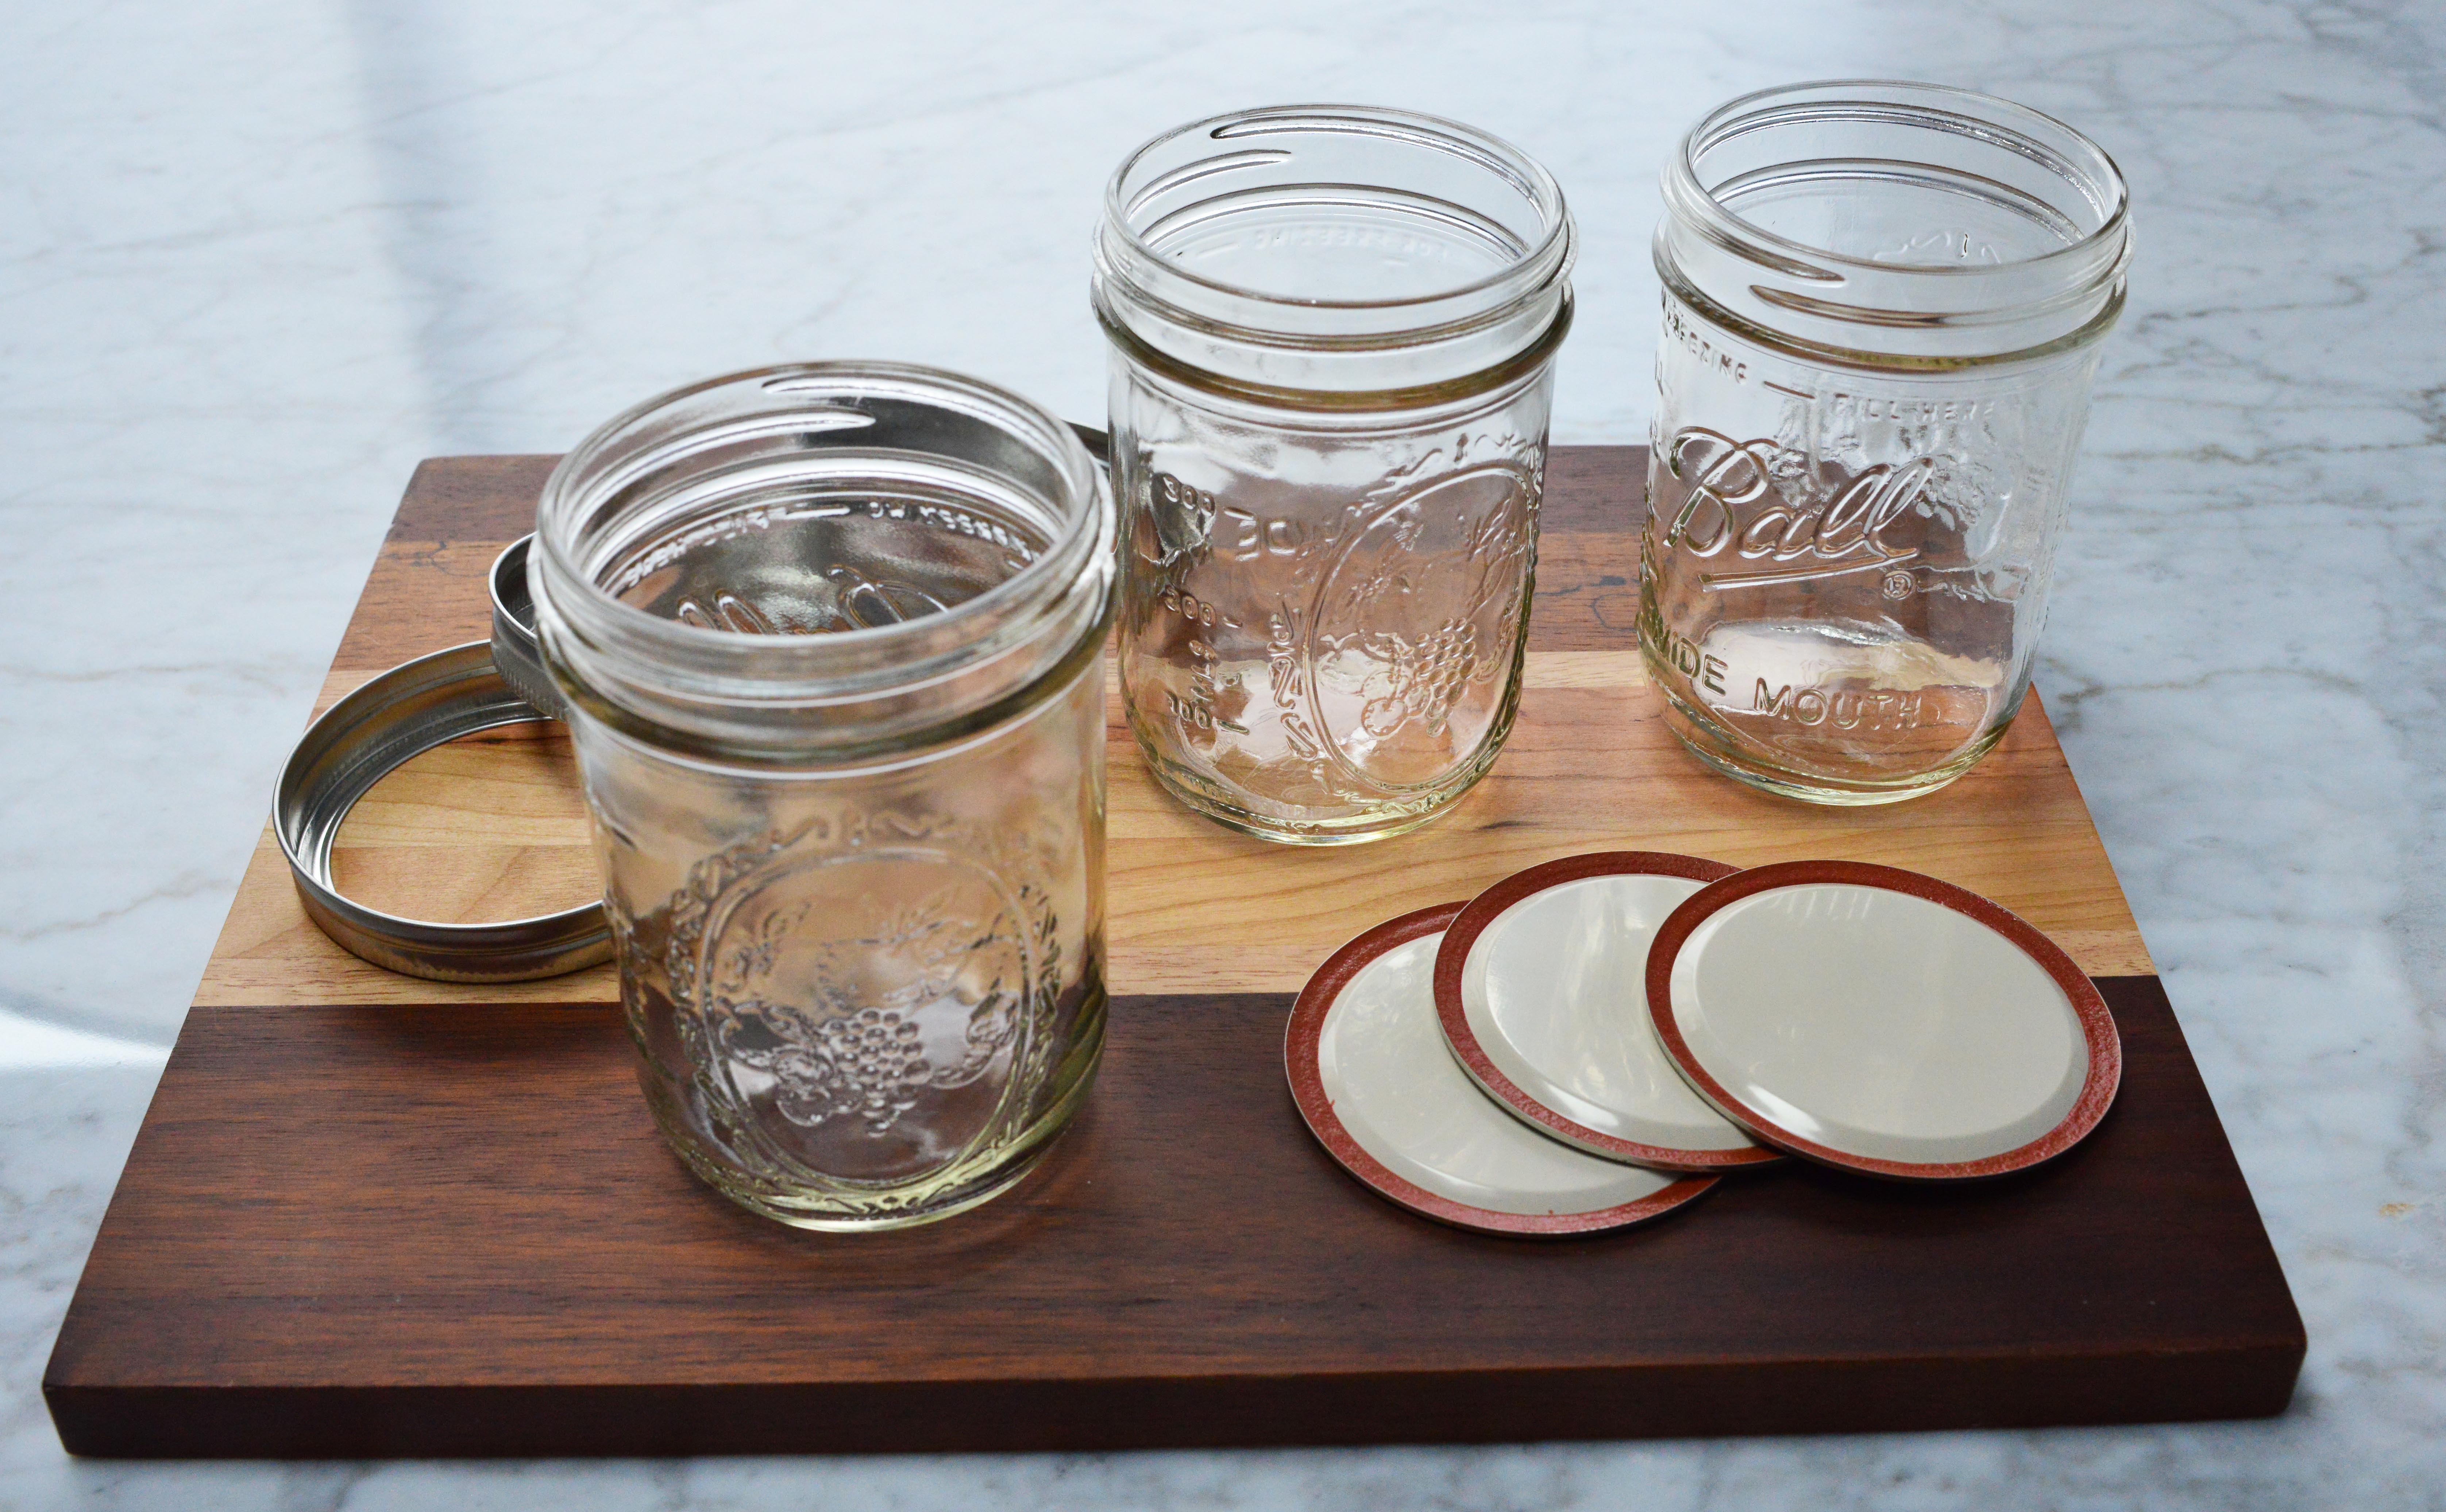
Making Preserved Lemons: First, gather your supplies and ingredients. You will need 1 pint (16 OZ) jar, three lemons per pint jar, or you can use a 1-quart canning jar and double the recipe.
You will want to buy organic and pesticide-free lemons. You will also need kosher salt because it has a clean iodine free flavor. Eureka or Lisbon lemons. I bought a bag of Meyer lemons at Trader Joe’s and they worked beautifully. If you can’t find Meyer lemons, Eureka or Lisbon lemons could be used.
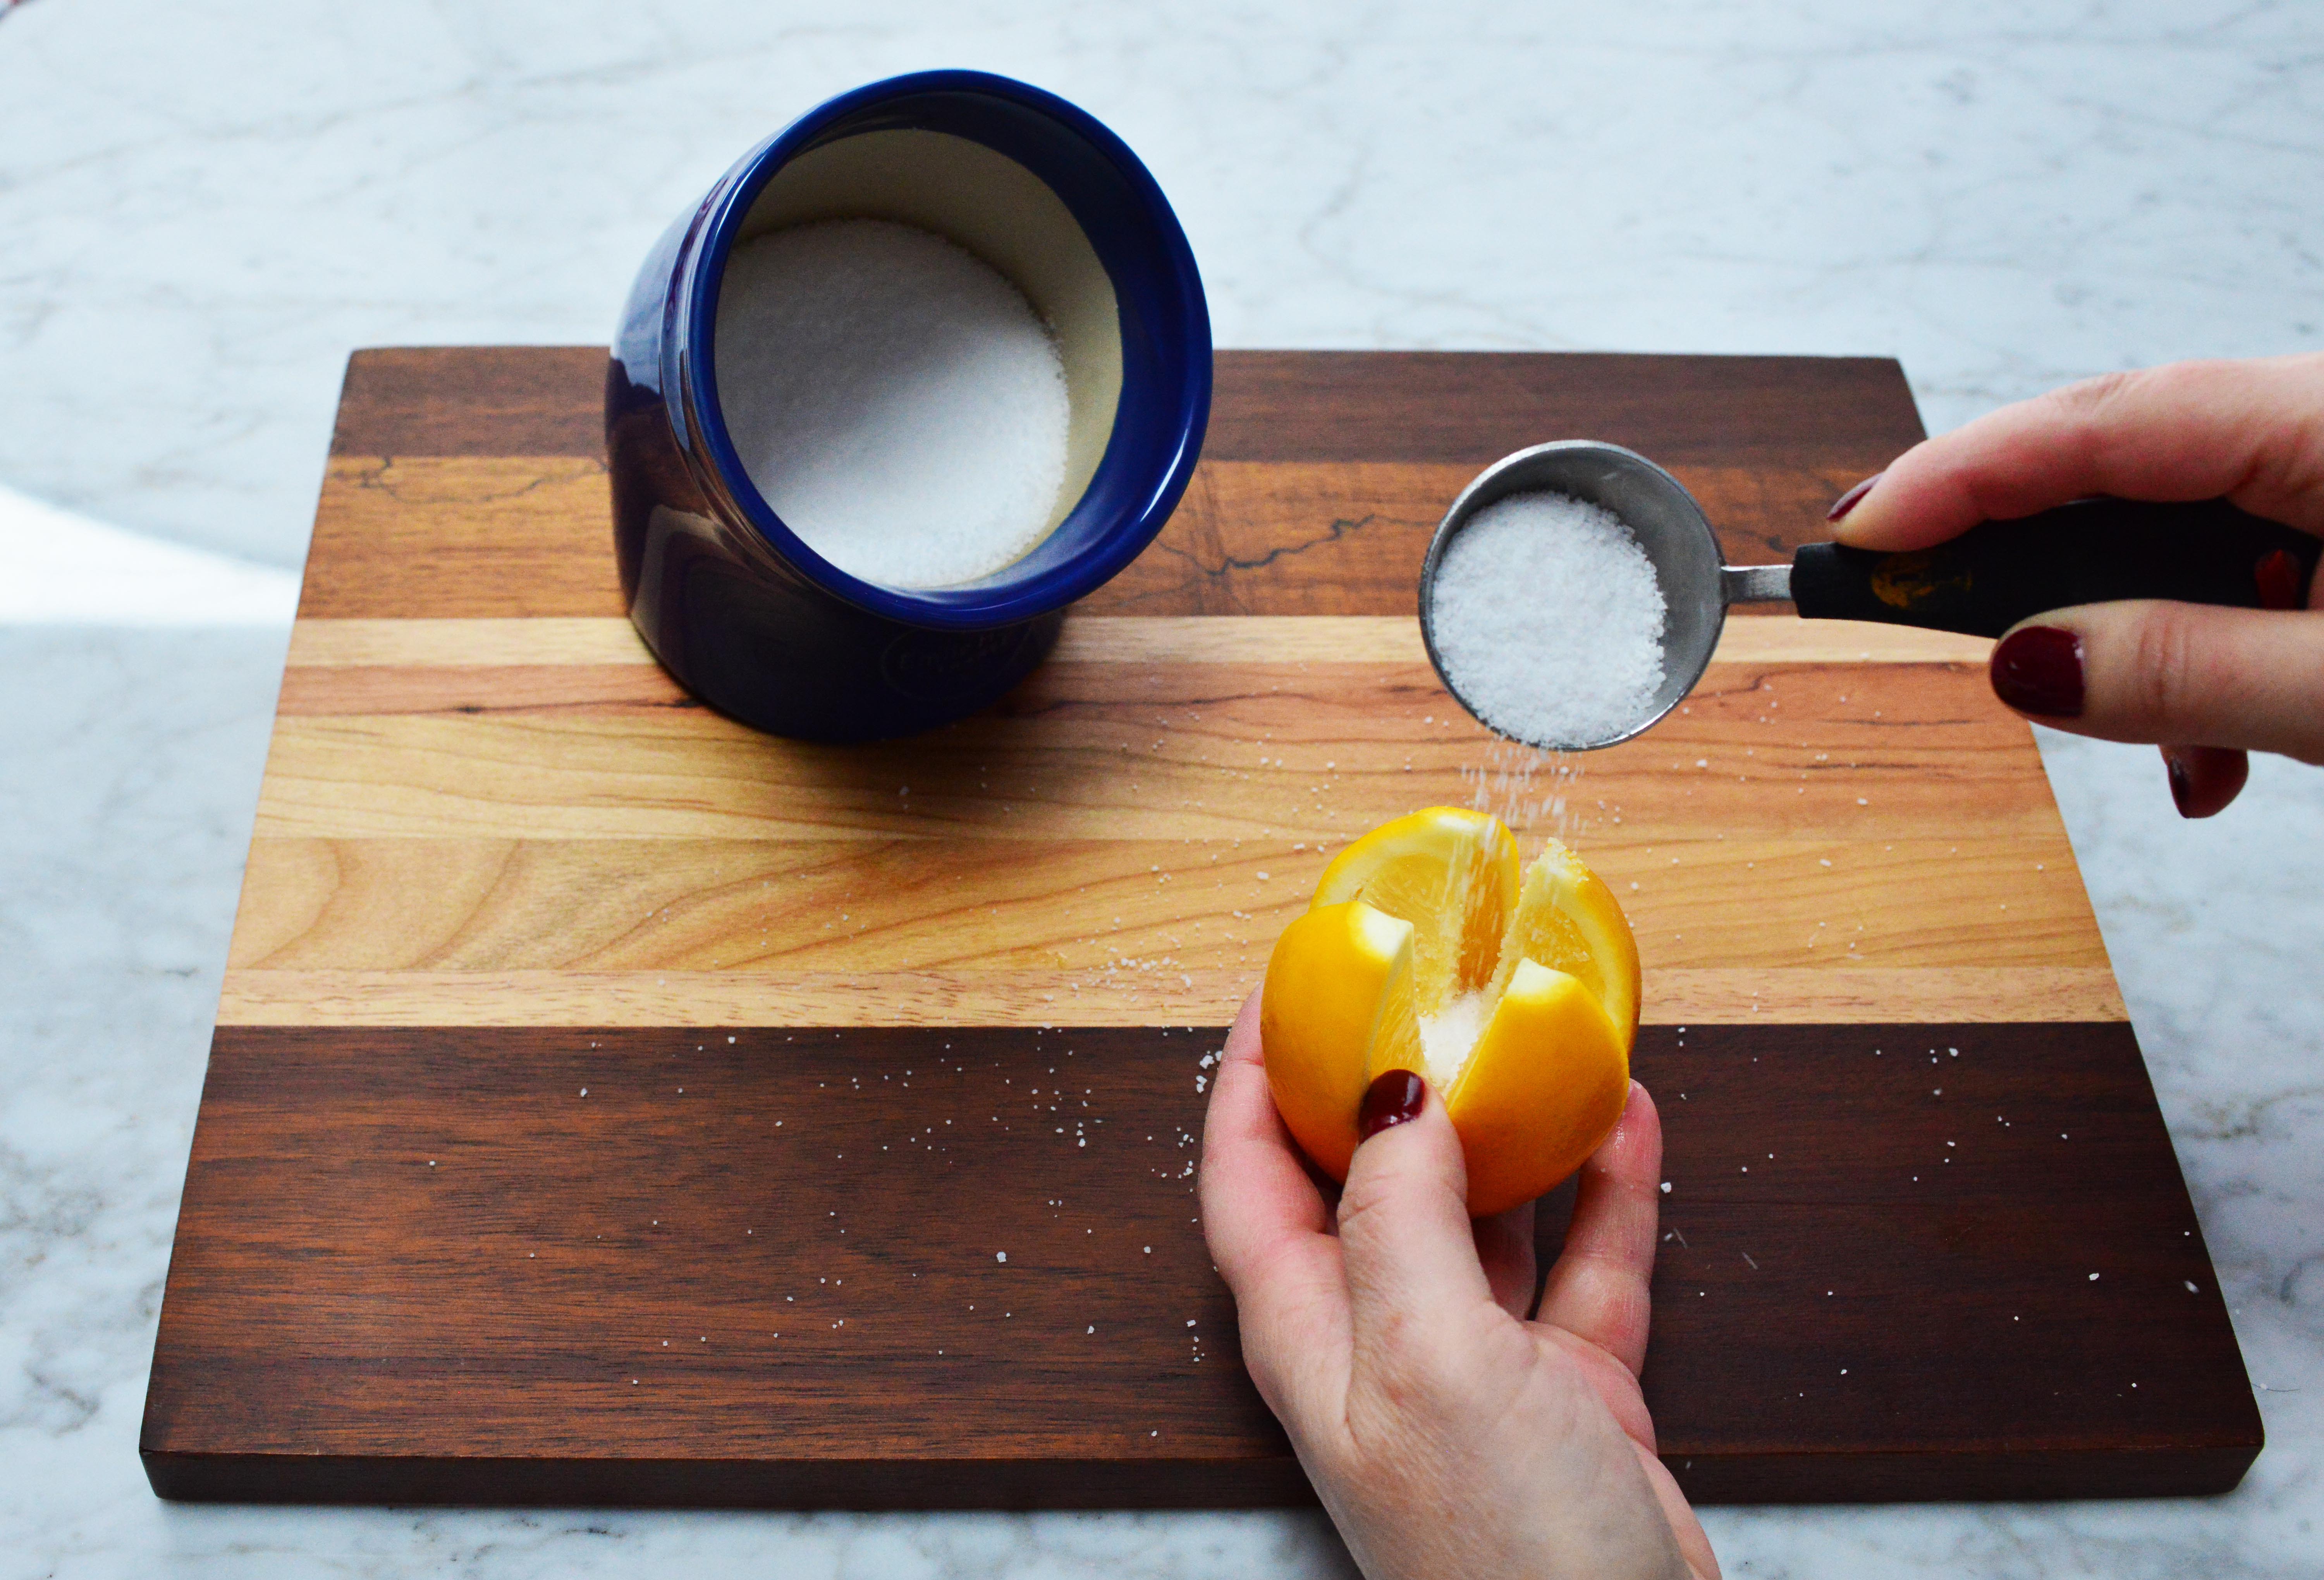
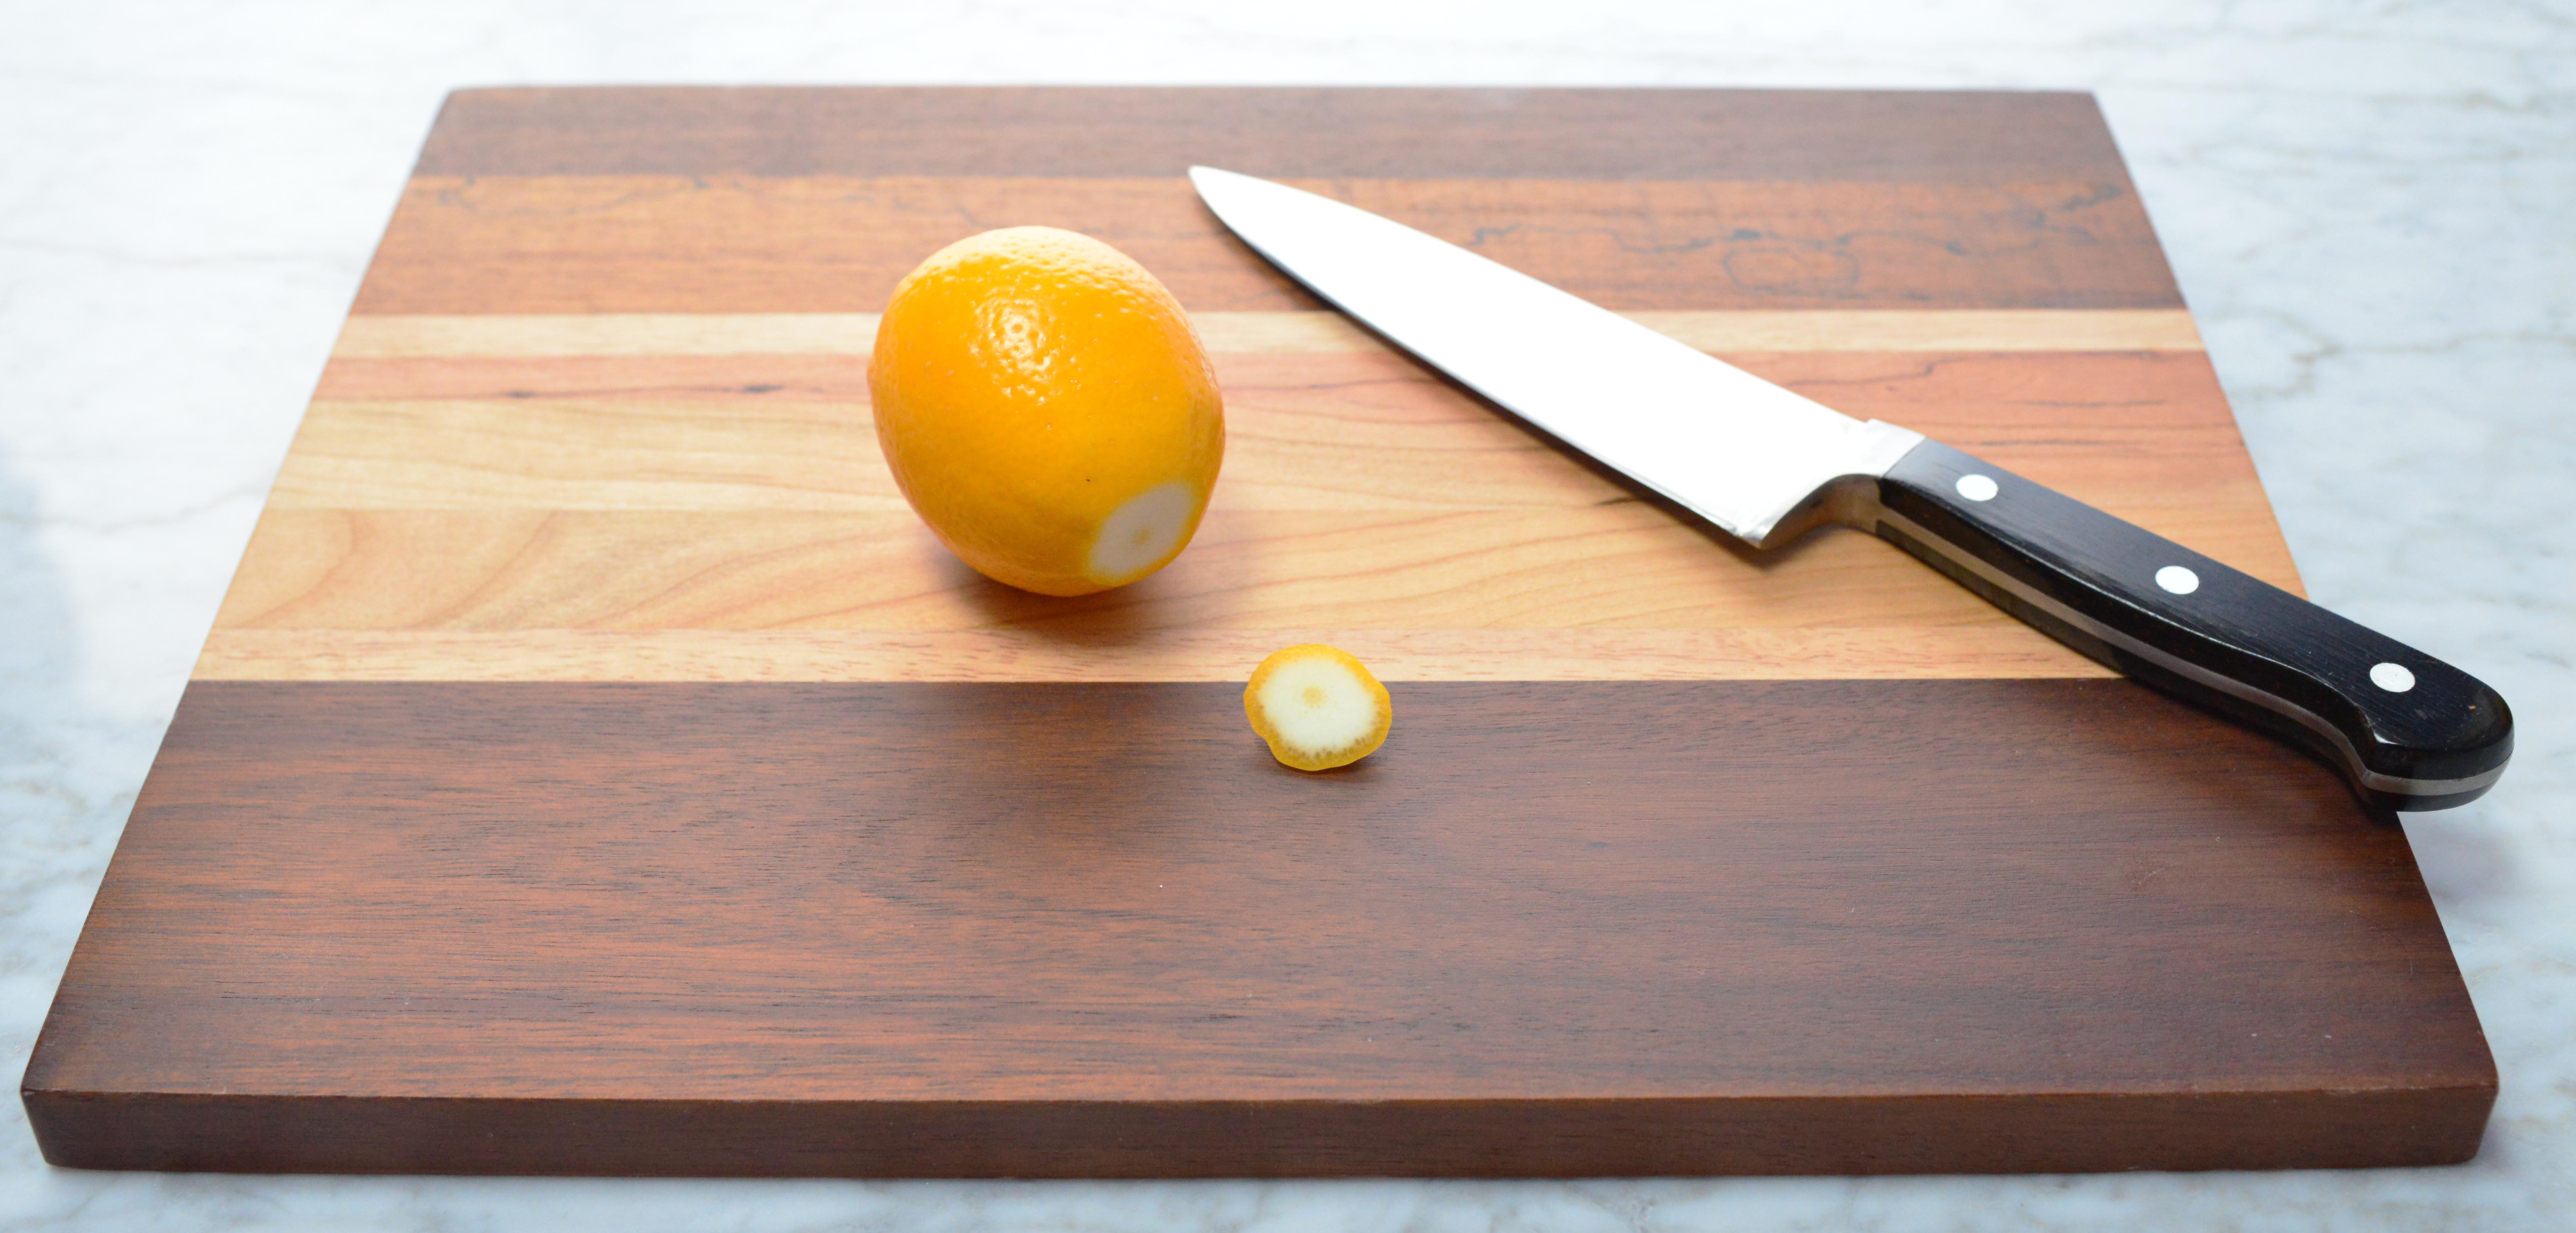
Scrub the lemons you plan to preserve under cold running water, then pat dry. Stand the lemon stem side down and cut into the lemon as if you were going to half it, but stop at 1/2 inch above the bottom. Now make a perpendicular cut, also stopping halfway above the stem.
Next, hold the lemon over a cutting board packing as much salt as possible into the cuts of the lemon, about a tablespoon.
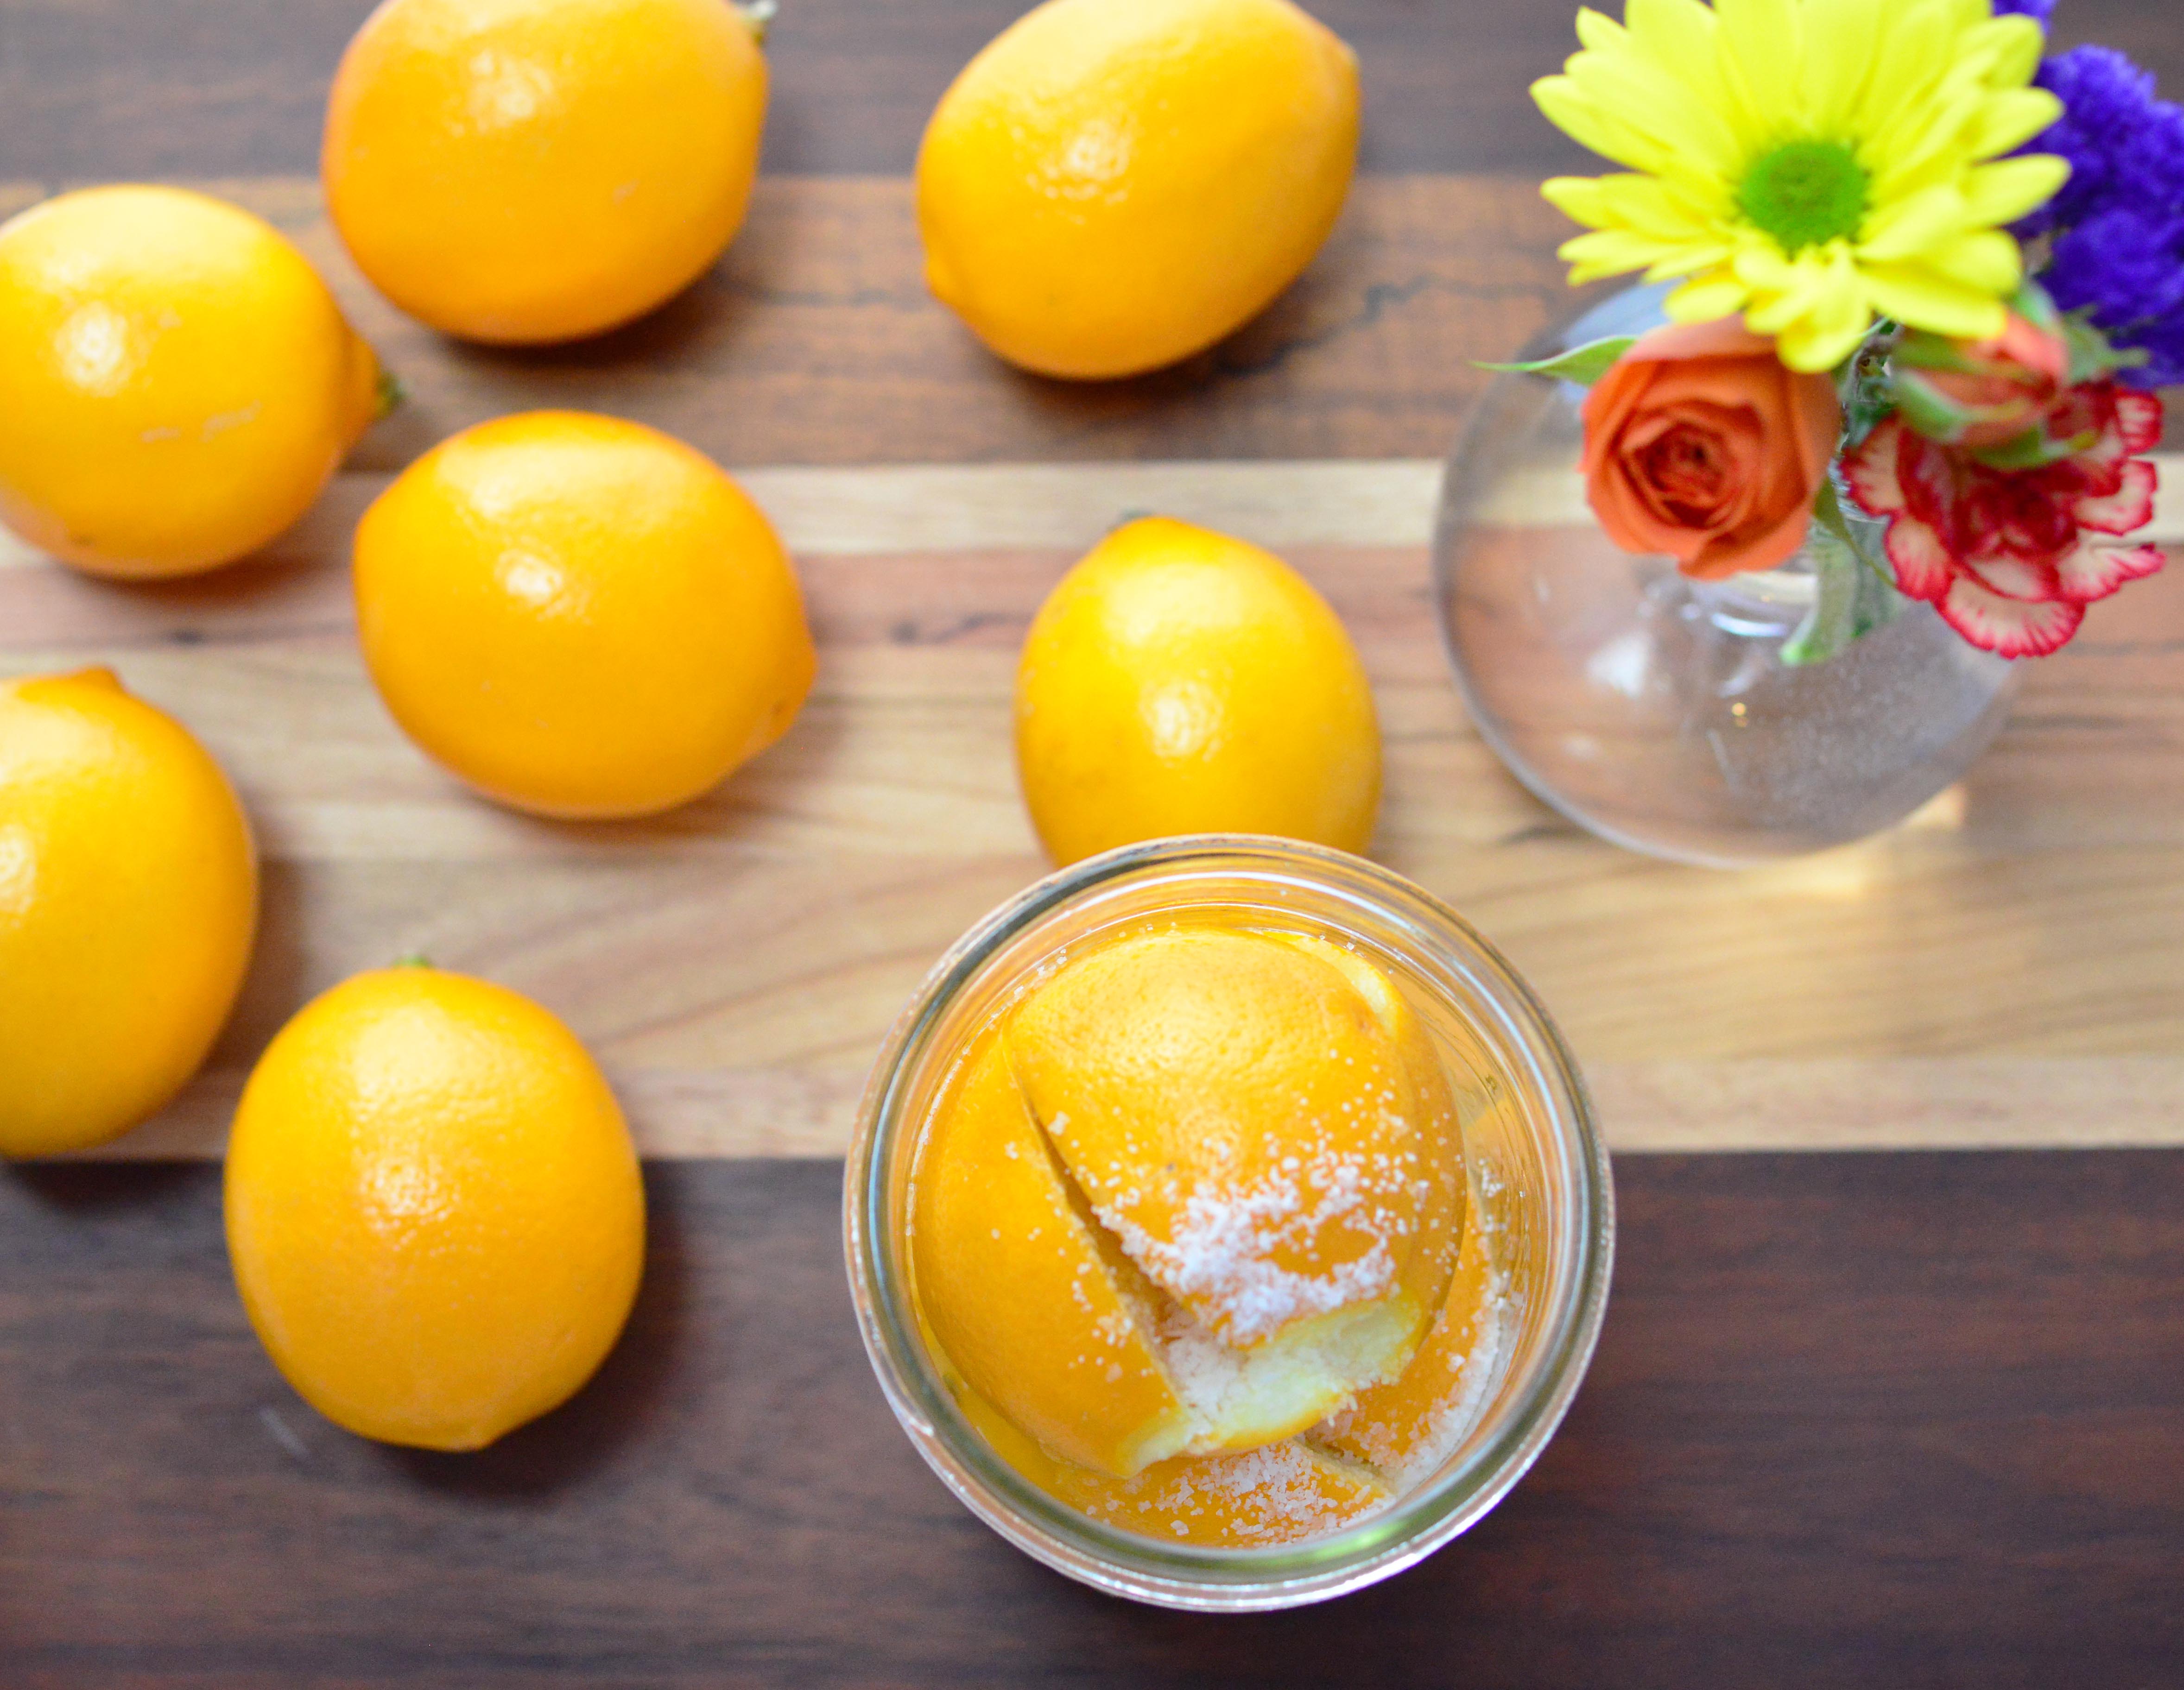
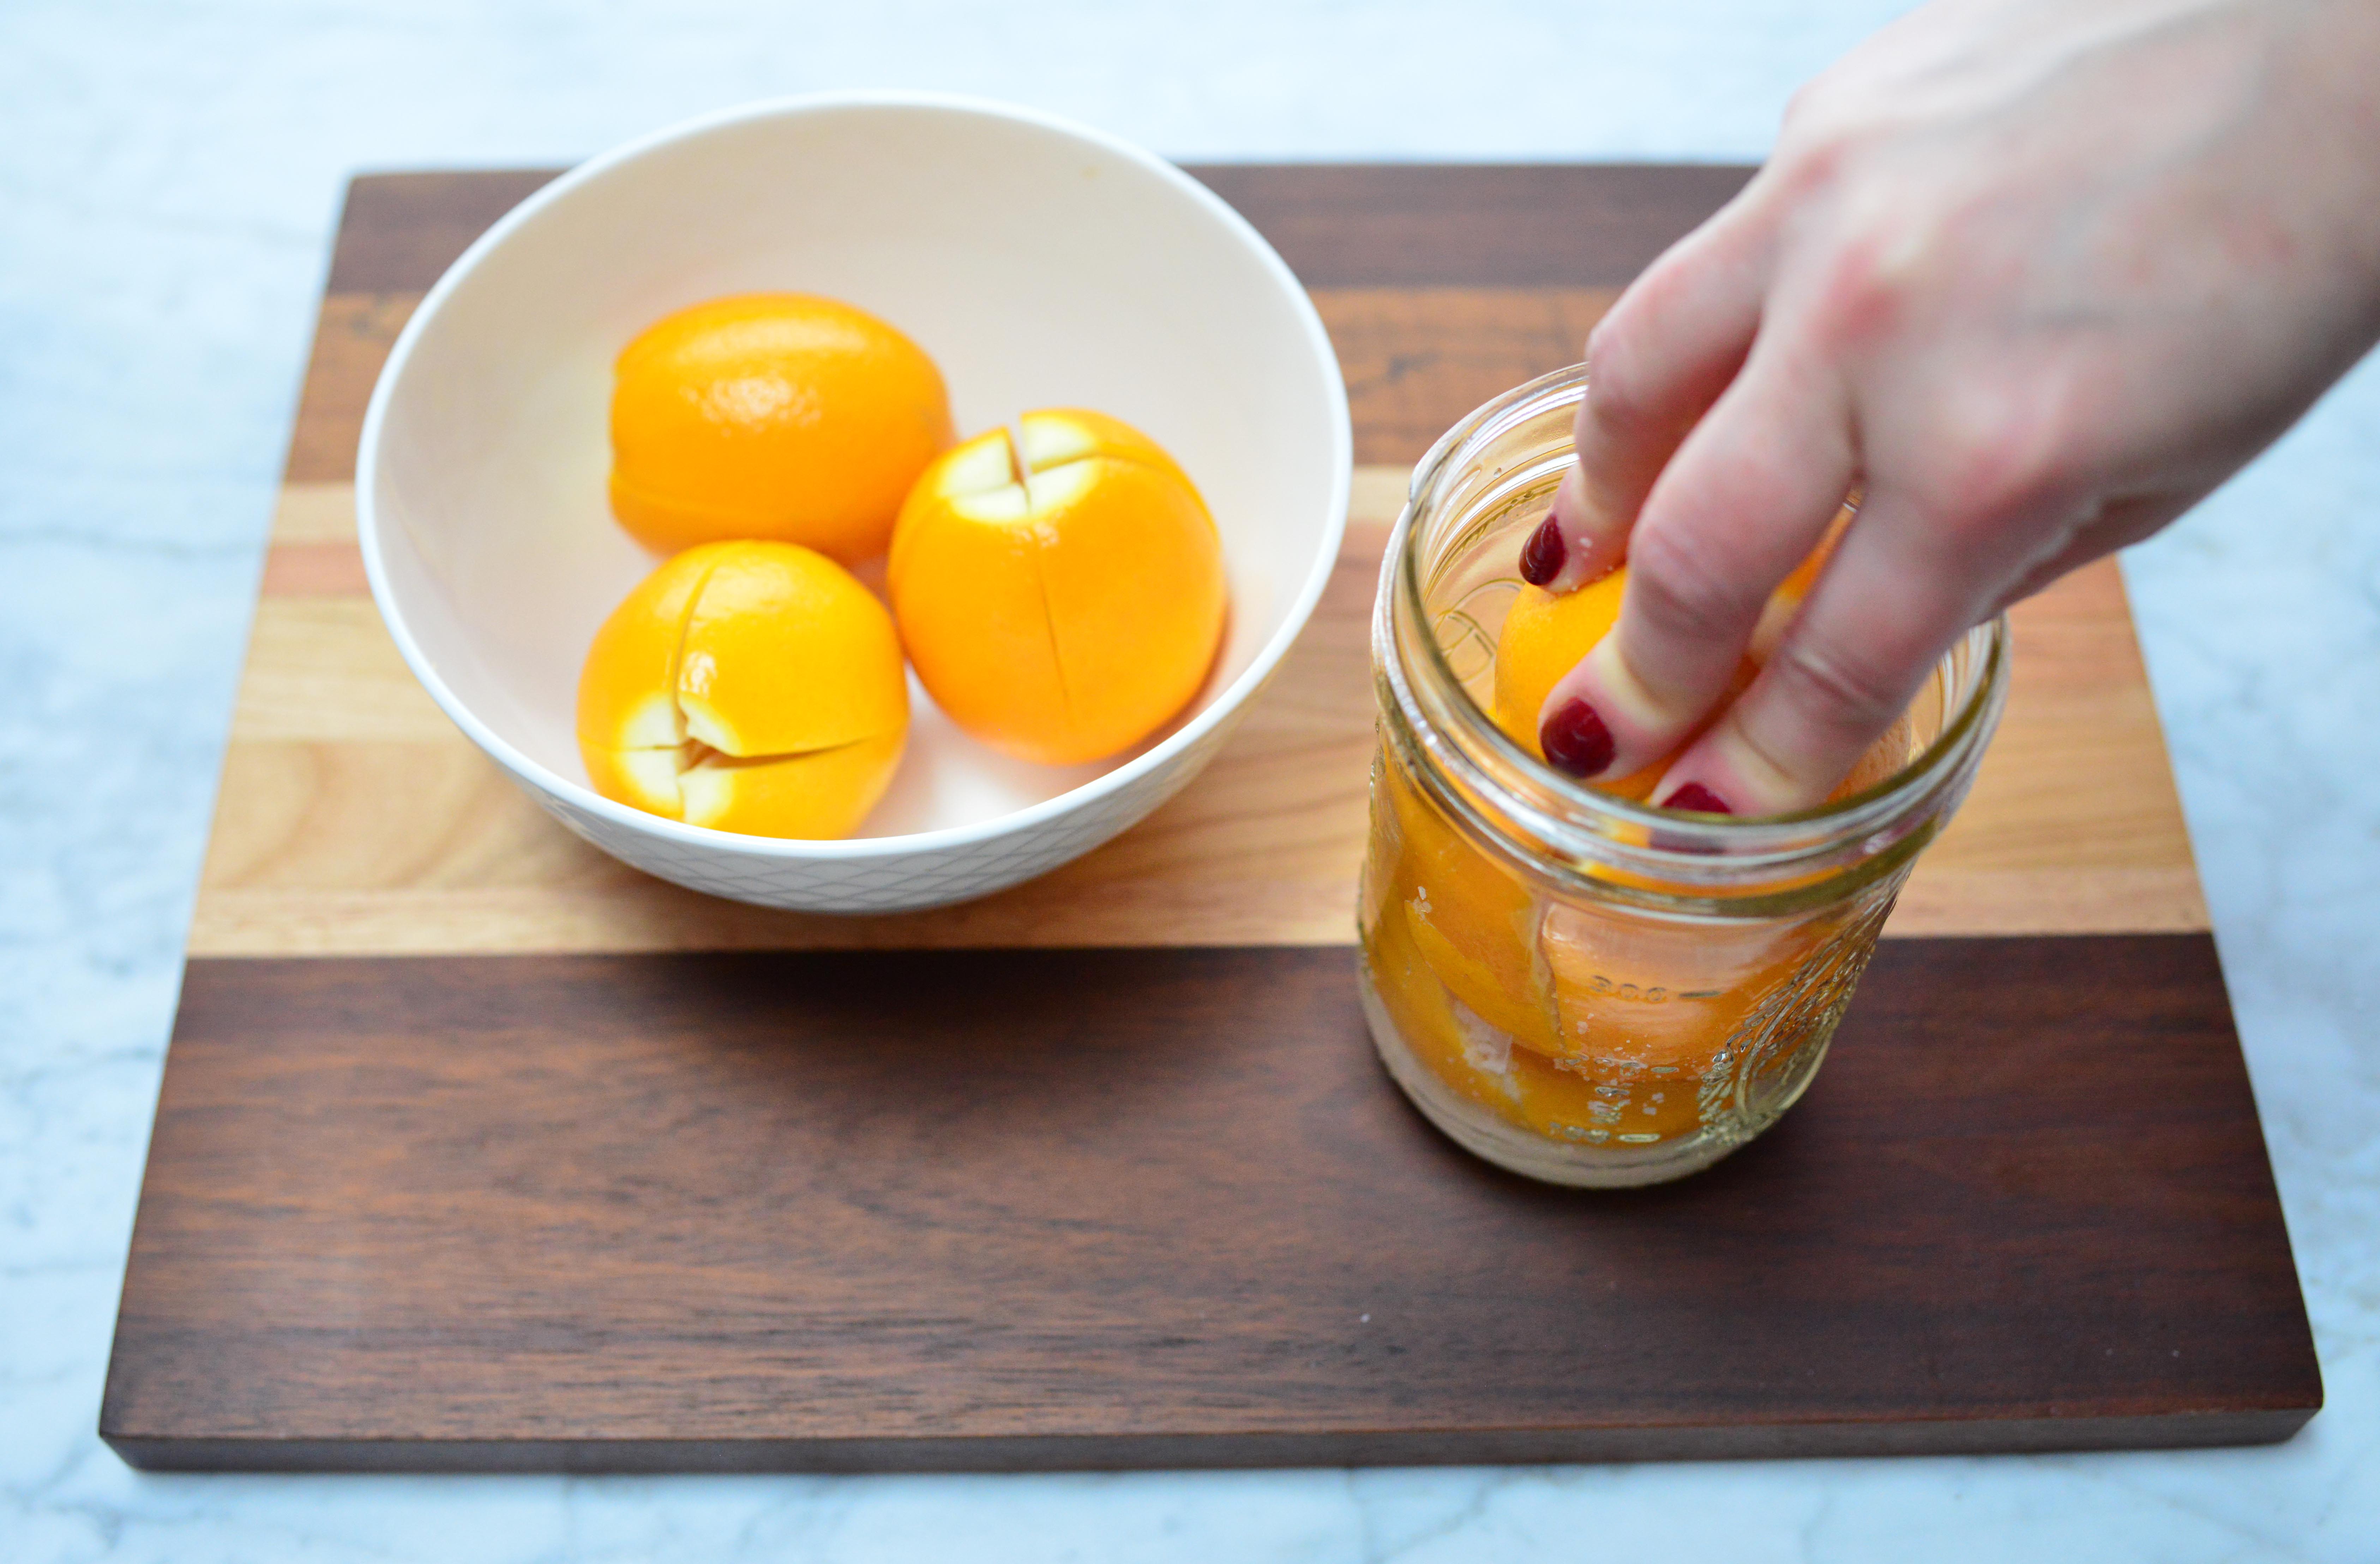
Next, place the lemon in the jar, scored side up, so the salt does not spill out. Pack as many as you can into the jar, pushing down hard so they’re squeezed in tightly.
Put the lid on the jar, and leave it out overnight. The next day, use a clean spoon to pack them tighter and add as many as you can to fill the jar. Juice the remaining lemons, and add the juice to the jar. When the lemons are submerged, tighten the lid and place them in a cool, dark spot to preserve. Don’t tighten the lid too much, as this may cause it to buckle. I had to add a little juice after the first week to make sure the lemons stayed submerged. I checked on my lemons every few days, turning the jar upside down to redistribute the juices and salt through the jar.
HOW TO USE PRESERVED LEMONS: You can add preserved lemons to Couscous: Toss some finely minced preserved lemon rind and parsley into couscous just before serving. Preserved lemons stuffed into the interior of a roasted chicken infuses great flavor. Vinaigrette: Add the brining liquid sparingly to vinaigrette and salad dressings. Use small amounts of the brining liquid to flavor and season chicken and fish, as it really adds to the flavor. Desserts: Add minced preserved lemon rind in small amounts to ice creams or rice pudding. I have salt and juice syrup left, I have been using a small amount of this to flavor and season chicken and fish, it really adds to the flavor.
Conclusion. As Chef Mourad Lahlou said “Every culture has their own unique contribution to the culinary world. According to him, preserved lemons are Morocco’s greatest culinary contribution to the world.”
After being in Morocco and tasting some of their delicious authentic dishes, I would have to agree with him 1000%!
Preserved Lemons
Ingredients
- 6 Meyer lemons
- 6 tablespoons coarse sea salt or kosher salt
- juice of 6 lemons
Instructions
- Before starting, find a jar large enough to accommodate all of the lemons snugly — I used a 2-quart jar for my 8 lemons. To sterilize it, fill it with boiling water, leave for a minute, and then empty it. Allow it to dry out naturally without wiping it so it remains sterilized.
- Wash the lemons and cut a deep cross all the way from the top to within ¾ inch from the base. Put a tablespoon of salt in the bottom of a 16 OZ pint-sized jar. Stuff each lemon with about 1 tablespoon of the salt (if lemons are small, use 2 teaspoons) and place in the jar. Push the lemons in tightly so they are squeezed together snugly. Put half tablespoon of salt over the top of the lemon. Repeat the process by putting a tablespoon of salt inside the second lemon, and then push the second lemon in tightly pushing them down hard so they're squeezed in tightly. Seal the jar and leave in a cool spot for at least a week.
- After the initial period, remove the lid and press the lemons as hard as you can to squeeze out as much of the juice as possible. Add the lemon juice, and cover and seal the jar, transfer to the fridge, and leave for at least 4 weeks. The longer you leave them, the better the flavor


Amazingly simple and very clear instructions. I will make these as soon as my lemon tree starts producing lemons.
Thanks so much Lisa, that is very nice of you to say.
A lemon tree? How nice!
What a great way to put your lemons to good use. I hope you enjoy it!